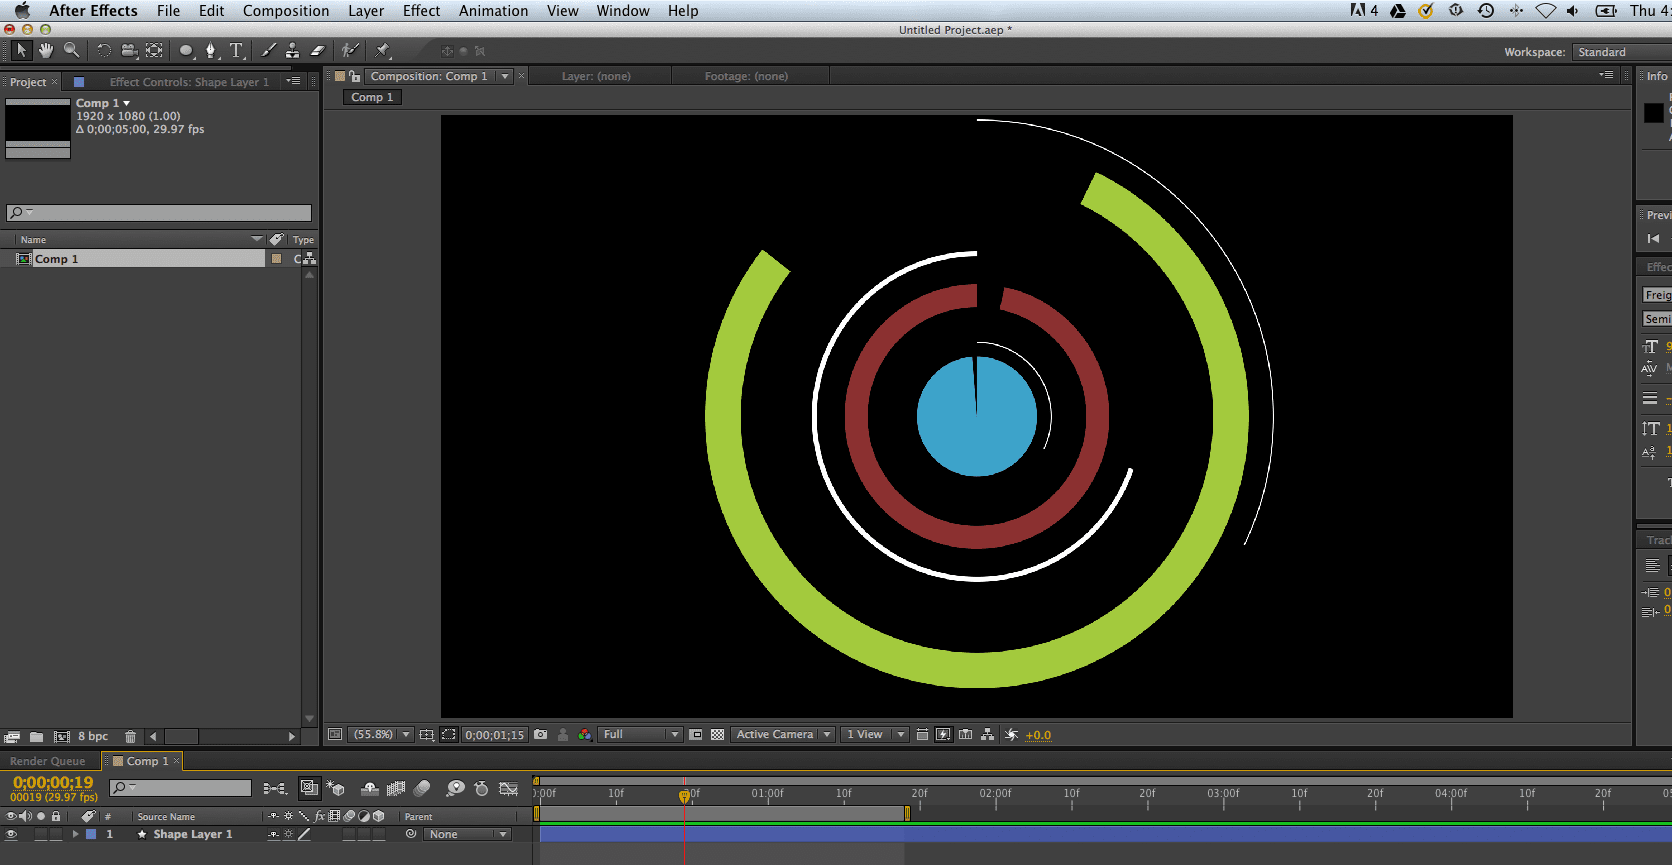
After Effects continues to amaze me. Even after becoming proficient at using most of the features, teaching a course on it for beginners, and editing many many many motion graphics with it, I find that there is still so much to learn. Most likely I’ve only mastered about 5% of the capabilities within After Effects.
I’m currently creating an entire course on advanced shapes animations. A lot of it has to do with using the trim paths feature. So look forward to that +some free tutorials on the Video School Online YouTube channel. For now, here is a written tutorial on the basics of using trim paths.
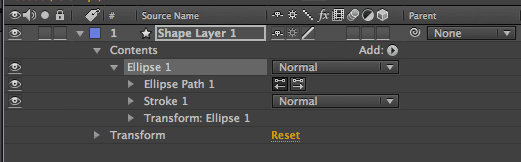
STEP 1: In this first image you’ll see that I created a simple circle using the shape tool. I deleted the fill and left the stroke.
STEP 2: Twirl down the drop down menu on your shape layer. In the above image, notice that ‘Add’ button with the play button next to it? Click that!
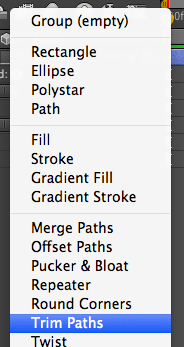
STEP 3: Click Trim Paths.
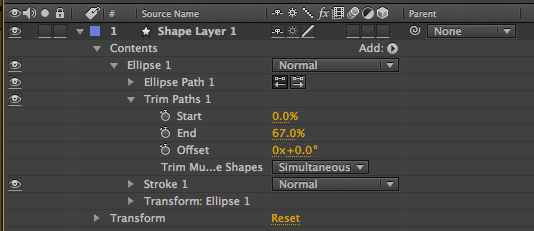
STEP 4: Click the drop down menu for trim paths. There you will see start and end options. Play around with these to see what they do to your shape. The basic animation will be done setting keyframes for these starting and ending points.
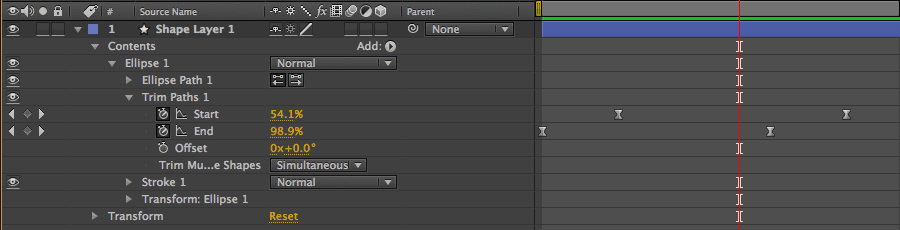
STEP 5: Here I set keyframes for end going from 0% to 100% over about 20 frames. I did the opposite for the start keyframes, going from 100% to 0% in the same amount of time. I then added easy-ease to the keyframes and used the graph editor to make the speed of the animation more interesting. Watch this video on the GRAPH EDITOR if you don’t know what I’m talking about.
🎉 Are you ready to party? 🎉 I'm doing a Purple Friday Party to celebrate…
Learn more about our Advanced Videography Course: Do you ever watch a video and wish…
*** The Complete Instagram Marketing Course is now LIVE. Grab it for just $9.99 for…
You can make better YouTube videos from home with any equipment. Join our new complete course!…
Do you have a Sony camera? Do you want to be comfortable and confident using it to…
This Digital Marketing course will help you get more business leads and convert them to…